It's been too long since my last post thanks to the summer holidays. I was planning on posting quite a lot, but unfortunately, I was in all the wrong places for baking. Now, we're getting the ball rolling again!
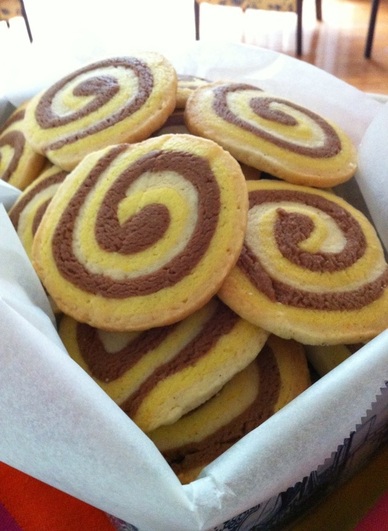
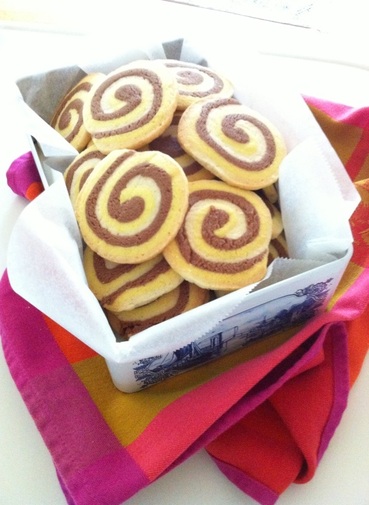
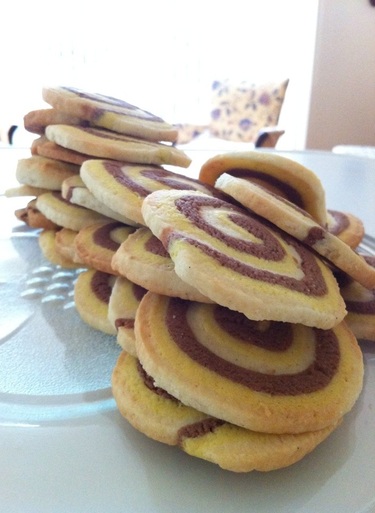
I wanted to do do something a little fun, so I played with some colour variations and patterns and decided to do these hypnotic wheels. The original recipe is just chocolate and vanilla, as are these, but it would be cool to play with the flavours too. I would try choc-mint by substituting the vanilla for peppermint oil; choc-orange by substituting with orange oil; you could also try different chocolates. You could even just scratch the chocolate altogether and use caramel, coffee or if you're extremely adventurous- lavender. Adding dye is yet another way to jazz up your cookies. The basic recipe allows for any kind of flavouring that you desire- it's pretty versatile.
I found that I had to add more flour to my dough to get the right consistency, which should be at a point where it holds its shape when formed into a ball and doesn't flatten under it's own weight. It should be workable, so not too wet. My chocolate dough needed the most.
As you'll notice, there is no cocoa powder in the recipe for the chocolate dough. I actually found it to be so much nicer without cocoa powder, and rather the addition of melted chocolate. The richness of the dough was so yum.
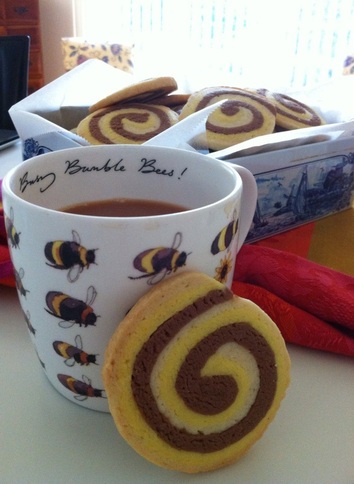
All in all, if you get the dough to a nice workable consistency, the rest is easy and the outcome of the cookies is spot on. They're crunchy and rich in flavour! Really good with a cup of milk. :)
Recipe from This Website
Yields around 30
- 1 pack (8 oz) Philadelphia cream cheese
- 3/4 cup (6oz) butter, room temperature (don't melt)
- 1 cup sugar
- 2 tsp vanilla essence
- 2 1/4 cups flour
- 1/2 tsp baking soda
- 2 oz semi-sweet chocolate chips, melted
- yellow food dye, or any others is preferred
Yields around 30
- 1 pack (8 oz) Philadelphia cream cheese
- 3/4 cup (6oz) butter, room temperature (don't melt)
- 1 cup sugar
- 2 tsp vanilla essence
- 2 1/4 cups flour
- 1/2 tsp baking soda
- 2 oz semi-sweet chocolate chips, melted
- yellow food dye, or any others is preferred

Directions:
Beat together the cream cheese, butter, sugar and vanilla essence until well combined.
Sift in the flour and baking soda and mix with a spoon until thoroughly combined. Cover with cling film and refrigerate for 30 mins.
Weigh your dough and divide into 3 equal weighing amounts. Rewrap two of them and place back in the fridge. In a bowl, place the melted chocolate and 1 amount of dough. Using your hands, mix thoroughly until colour is consistent. Then wrap, and refrigerate. Repeat with a second amount of dough adding the yellow food dye until desired colour is reached. Refrigerate that, too.
Take one of the amounts of dough out of the fridge and roll out on a floured surface into a rectangle about 1/4 inch thick. Repeat with the other two amounts and then layer them on top of each other. Trim the edges to make it neat and then, using a rolling pin, lightly flatten the dough out a little more.
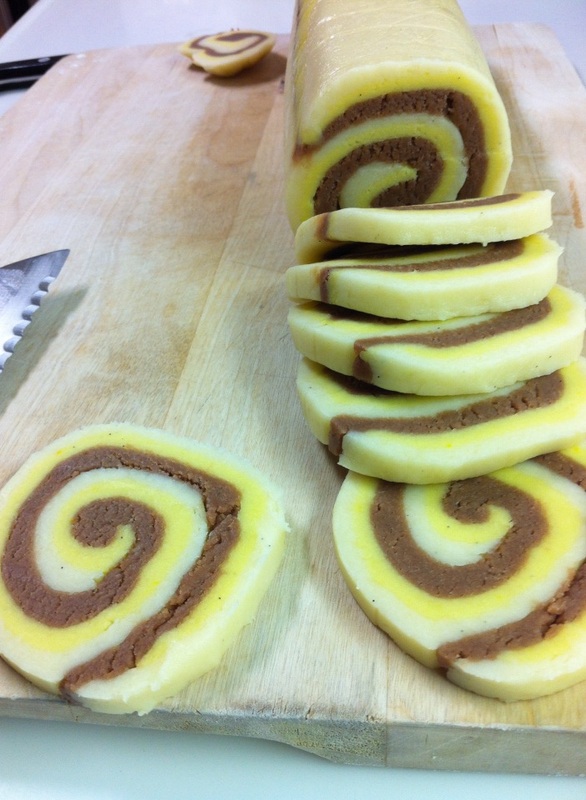
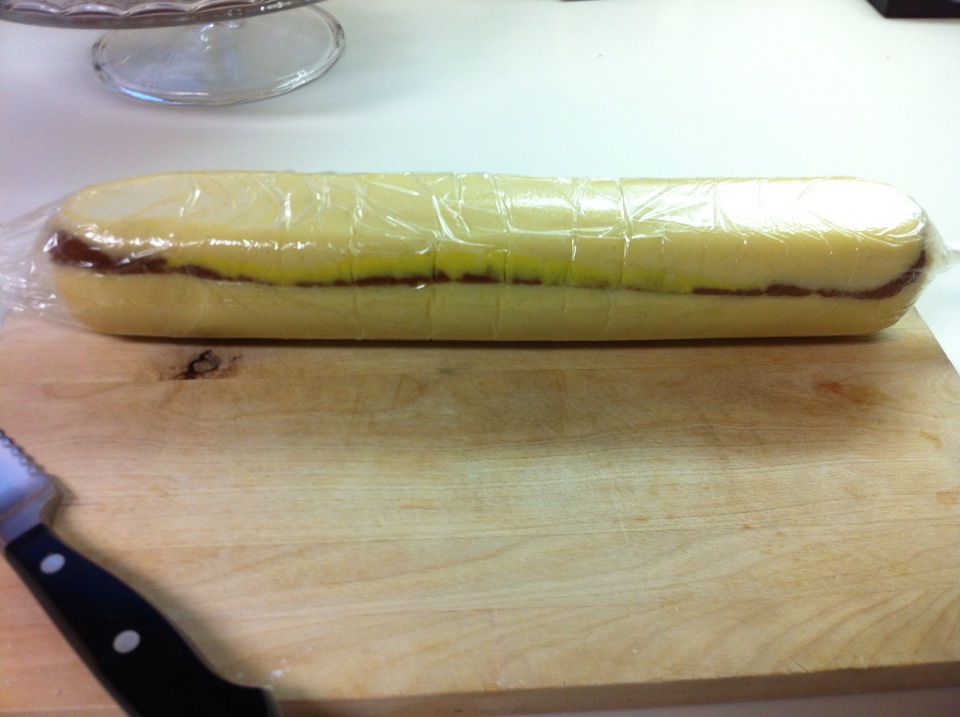
Transfer the dough to a large piece of cling film and roll tightly into a log, twisting the ends. With the trimmings, form them together and do the same, forming into a log. They'll be marbled cookie instead!
Place back in the fridge for 1 hour.
Preheat your oven to 350º F | 180º C | 160º C fan-forced.
Unwrap the log of dough and slice into 1/4 inch thick wheels. Place on a lined baking tray about a cm apart and place in the oven for 15-20 mins, turning the trays around halfway through, or until lightly browned. Let them rest before transferring them to wire racks for a further couple of minutes to cool.
Beat together the cream cheese, butter, sugar and vanilla essence until well combined.
Sift in the flour and baking soda and mix with a spoon until thoroughly combined. Cover with cling film and refrigerate for 30 mins.
Weigh your dough and divide into 3 equal weighing amounts. Rewrap two of them and place back in the fridge. In a bowl, place the melted chocolate and 1 amount of dough. Using your hands, mix thoroughly until colour is consistent. Then wrap, and refrigerate. Repeat with a second amount of dough adding the yellow food dye until desired colour is reached. Refrigerate that, too.
Take one of the amounts of dough out of the fridge and roll out on a floured surface into a rectangle about 1/4 inch thick. Repeat with the other two amounts and then layer them on top of each other. Trim the edges to make it neat and then, using a rolling pin, lightly flatten the dough out a little more.
Transfer the dough to a large piece of cling film and roll tightly into a log, twisting the ends. With the trimmings, form them together and do the same, forming into a log. They'll be marbled cookie instead!
Place back in the fridge for 1 hour.
Preheat your oven to 350º F | 180º C | 160º C fan-forced.
Unwrap the log of dough and slice into 1/4 inch thick wheels. Place on a lined baking tray about a cm apart and place in the oven for 15-20 mins, turning the trays around halfway through, or until lightly browned. Let them rest before transferring them to wire racks for a further couple of minutes to cool.
 RSS Feed