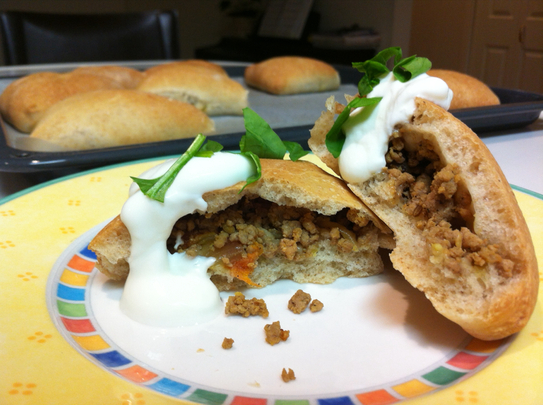
When I say pie, I really mean stuffed bread.... but the two are close enough! These are great for school lunches and on the go meals- you don't have to worry about juice running down your hands, or having the filling falling out everywhere, which often happens with a typical sandwich, no?
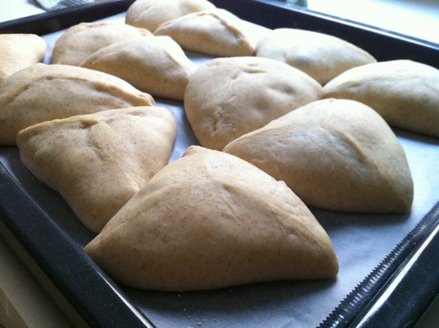
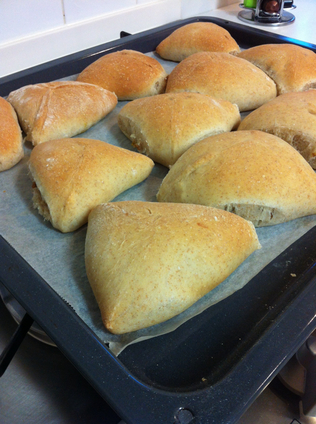
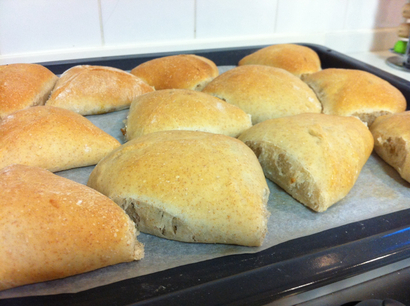
I served these with a dollop of yoghurt to complement the spiciness of the meat filling. They were great beside a fresh green salad- parcels of comfort! Ingredients:1 quantity pita bread dough, from this recipe 2 tbsp olive oil 375g minced beef salt and pepper 2 large garlic cloves 1 cm fresh ginger, peeled and finely chopped 1 onion, finely chopped 1/2 tsp ground coriander 1/4 tsp ground turmeric 1/4 tsp ground cumin 1/4 tsp cayenne pepper 2 tomatoes, peeled, and roughly chopped handful of fresh coriander, chopped Greek yoghurt, to serve (optional) Directions:Follow steps 1-5 on the pita dough recipe, omitting the cumin seeds. While it rises at step 4, start making the filling. Heat the oil in a large frying pan. Add the beef, season with salt and pepper, and stir over medium-high heat until evenly browned. Transfer to a bowl with a slotted spoon. Reduce heat to medium, and pour off any fat. Add the garlic and ginger and fry for 30 seconds. Add the onion and cook until soft, then add the beef, spices and tomatoes. Season well to taste! Cover and cook for 10 minutes, until any extra liquid has evaporated. Then, transfer to a bowl to cool. Once cooled, stir the fresh coriander through. Using the knocked back dough, cut it in half and shape one half into a log about 5cm (2 inch) in diameter. Then cut into 6 pieces and roll them into balls. Repeat this with the second half of the dough. On a clean, flat and lightly floured surface, roll out each ball one at a time into a circle about 10cm (4 inch) in diameter. Place a spoonful of filling in the middle, leaving 2.5cm (1 inch) border. Then lift the dough from three equidistant points up and over the filling, bring them together in the middle to form a triangular parcel, and then pinch together the seams. Repeat to shape and fill the rest of the dough. Place the pies distanced apart on a tray lined with baking paper. Use two if needed. Let them rest in a warm place for 20 minutes, covered in a clean, dry tea towel. In the meantime, preheat your oven to 230ºC (210ºC Fan Forced/450º F) Bake the pies for 10-15 minutes, until golden brown. Best served warm with greek yoghurt. :)
Hey Guys! Hannah here!
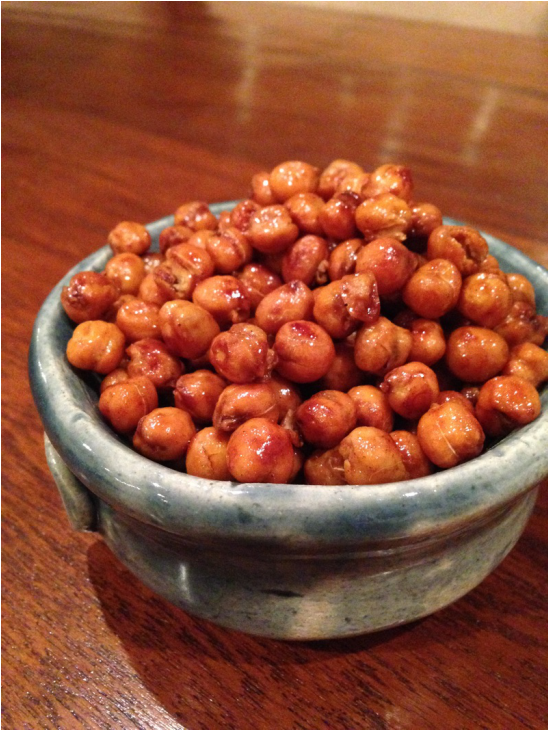
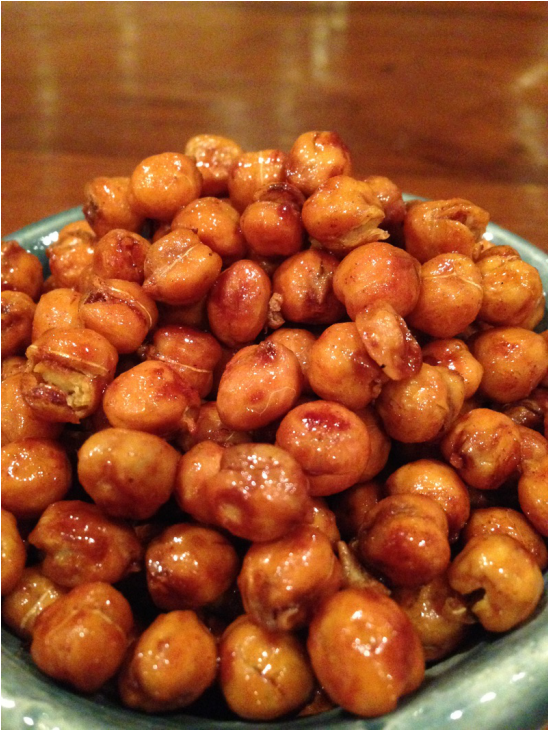
I posted a recipe for tandoori spiced chick peas a while ago and I thought it was time to make them again, but this time with a sweet rather than savory taste.
I am a huge after-school-snack fan and I never know what to have when I get home. Usually I have an apple with a little peanut butter, but sometimes I want something more and these little guys do the trick. I’ve made roasted chickpeas before but I used tandoori spices to create a savory snack. This time I thought I should try a sweet version. The only sweet flavor in this recipe is honey, there is actually no refined sugar in the recipe! WOO! Roasted chickpeas taste delicious without any seasoning too, so if you wanted a neutral flavored healthy snack then make these. But, I feel like the flavor adds a mouth watering kick to the original taste.
Let’s get to the recipe, shall we? To start off all you need is 1 can of chick peas (garbanzo beans). Later on you add the flavor (:
Bake the chick peas on a lined baking sheet for 45 minutes at 375˚F.
Once the chickpeas are done with the first round of baking, pour them into a bowl and add 1 tablespoon honey, 1/2 teaspoon cinnamon and 1/2 tablespoon olive oil. You can also add salt and 1/4 tsp nutmeg but I forgot to put salt on mine and I also did not have any nutmeg in my spice cabinet. I think the chick peas tasted fine without the salt too.
Now, you have the option to eat them now or stick them back in the oven for another 12 minutes so the honey can caramelize. I chose to caramelize mine and they turned out fabulous! I recommend baking them for the second time or else they will be super sticky.
Nutritional Information: 1 serving (the whole recipe)
•146 calories •6.2g protein •2.6g fat •23.0g carbohydrates
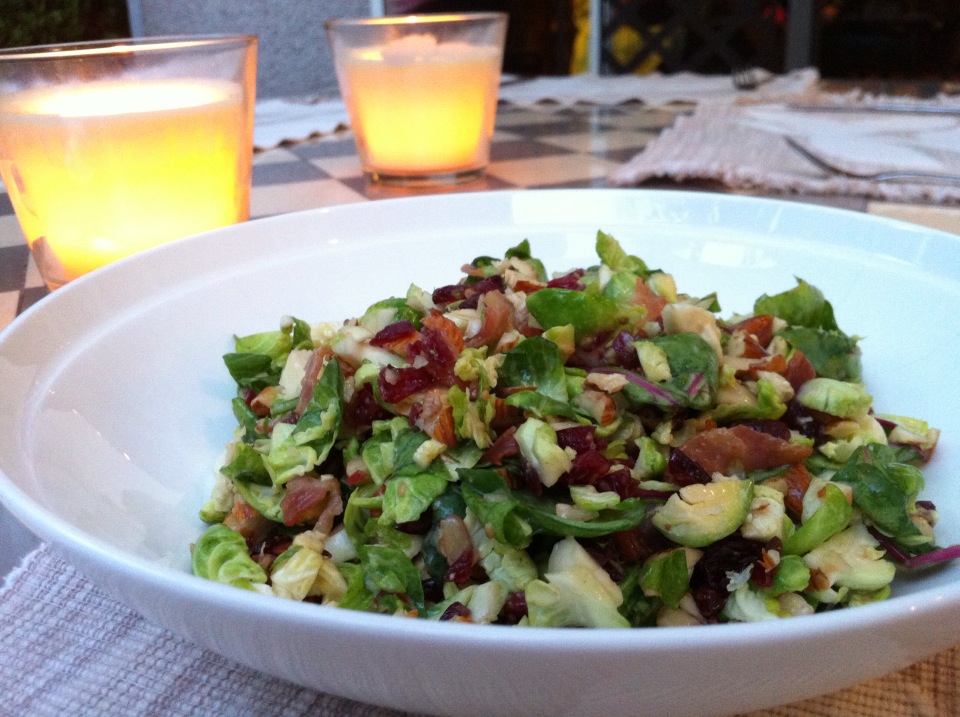
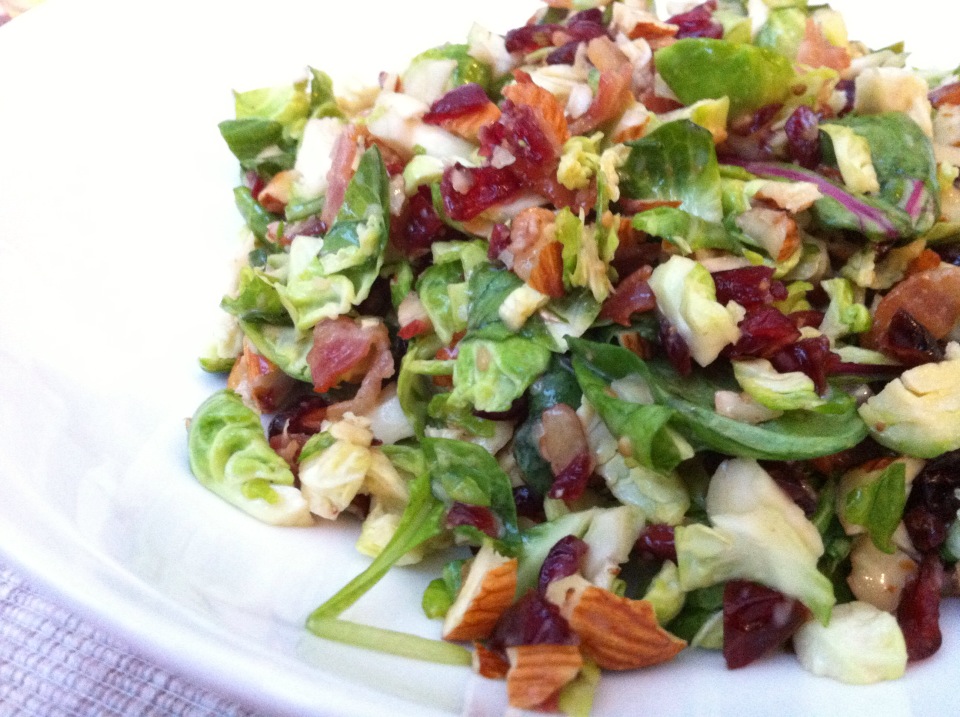
This is one of Hannah's favorite salads, and it didn't take me long to understand why. Its so simple, healthy, and it actually tastes amazing, despite the fact that there is hardly any cooking involved. It's a toss up of ingredients strong in flavour and they complement each other really well.
It's difficult getting you hands on brussel sprouts here. I haven't eaten them in years! So, it was great to finally eat some again, thanks to Hannah. I don't know when I went from absolutely hating them, and the people who forced them down my throat, to craving a good handful of steamed brussels now and then. Before now, I'd never had them raw and to be honest, if it weren't so hard to find them, I'd make every salad with brussel sprouts instead of lettuce leaves.
If you're looking for an interesting twist on a typical green salad at the table, I really recommend that you try this! Ingredients:
- 1 cup brussel sprouts, roughly chopped
- 1/3 cup raw almonds, roughly chopped
- 1/3 cup cranberries, roughly chopped
- 3 rashes of bacon, roughly chopped
- Toasted Sesame salad dressing Directions:
In a dry pan, sprinkle in the chopped bacon and cook on low-medium heat until golden in colour. Transfer from the pan on a plate lined with paper towel, and soak up as much of the fat as possible.
Place the chopped brussel sprouts, almonds and cranberries into a medium bowl. Toss and then add the bacon, toss again.
Drizzle the dressing lightly over the salad and toss that through, too.
Plate up and enjoy. It's that simple, yet a really tasty salad.
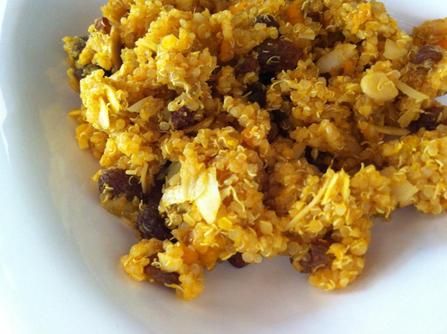
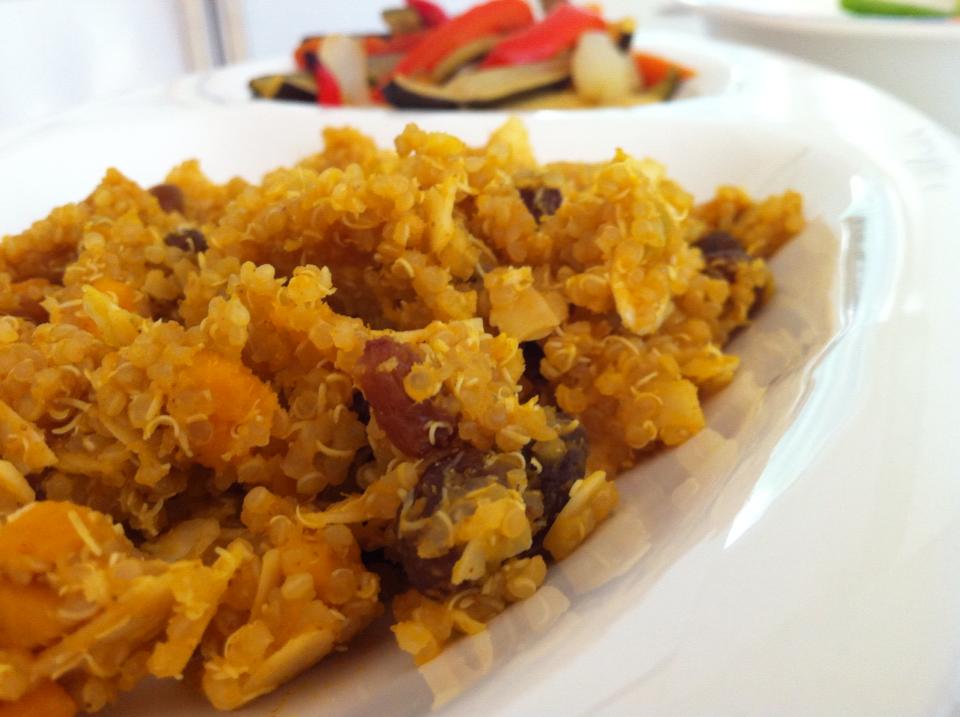
A spicy grain salad with a sweet element makes a really simple, enjoyable meal or side dish. I used to crave one like this from a deli called "On The Go" which used long grain rice and sweet currents seasoned with a moroccan spice of sorts. Using this idea I decided to throw together my own, substituting the rice for quinoa, and adding pumpkin, just because I love pumpkin. The only difference, other than the pumpkin, was the consistency that the quinoa delivered. It's slightly more stodgy, although stodgy isn't quite the right word, than long grain rice. The pumpkin, too, became a little mushy after I'd worked the mix together, trying to balance flavours as I wasn't following a recipe at all. I really like it like this, but some people find it unappetizing. If you are one of those people, simply use rice instead!
Quinoa is the new craze in terms of grains and healthy eating. It's higher in protein and lower in fat than most others. Its texture would make you think of it as something other than a grain- It almost seems more like legume of sorts. I love it, and I think that if you haven't tried it, you should! :)
Sweet and spicy is a well used combination of flavour, and I think that this salad really highlights this aspect. We ate this with cold rotisserie chicken we'd bought earlier that day, and it paired so well. The next day, we finished off the left-overs and as with most dishes like these, the flavours had intensified and it actually tasted better!
Ingredients: serves 4
- 1 cup dry quinoa
- 250g pumpkin, fairly finely diced
- 1 tbsp olive oil
- 1 tbsp curry powder
- 1 tbsp curry paste
- 1/3 cup flaked almonds
- 1/3 cup golden raisins, or currents
- 1/4 cup mango chutney
- juice of half a lemon
- salt to taste
Directions:
Preheat your oven to 200ºC/ 390ºF and line a baking tray with baking paper.
Transfer diced pumpkin onto baking sheet and toss in oil and curry powder. Then, place in oven and cook for 15-20 minutes. Meanwhile, put 2 cups of water in a medium pot and bring to the boil. Add the quinoa and turn heat down to a simmer, place a lid on the pot, and let cook for about 10-13 minutes.
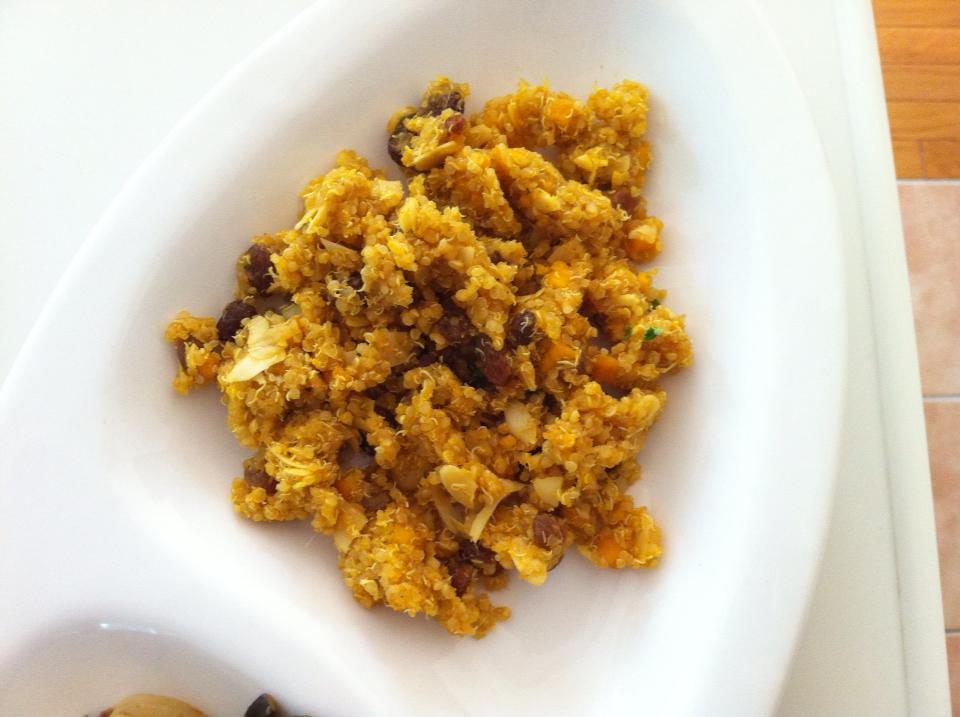
Once the pumpkin is cooked, set it aside to cool, and do the same with the quinoa. Once cooled, transfer both to a medium sized bowl, add the curry paste, almonds, raisins, chutney, lemon juice and salt. Stir gently to combine. Adjust seasoning to taste if needed.
Serve with a sprinkle of chopped parsley.
Ingredients: - 3/4 cup butter
- 3/4 cup brown sugar
- 1/4 cup granulated sugar
- 1 egg
- 2 tsp vanilla extract
- 2 cups all purpose flour
- 2 tsp corn starch
- 1 tsp baking soda
- 1/2 tsp salt
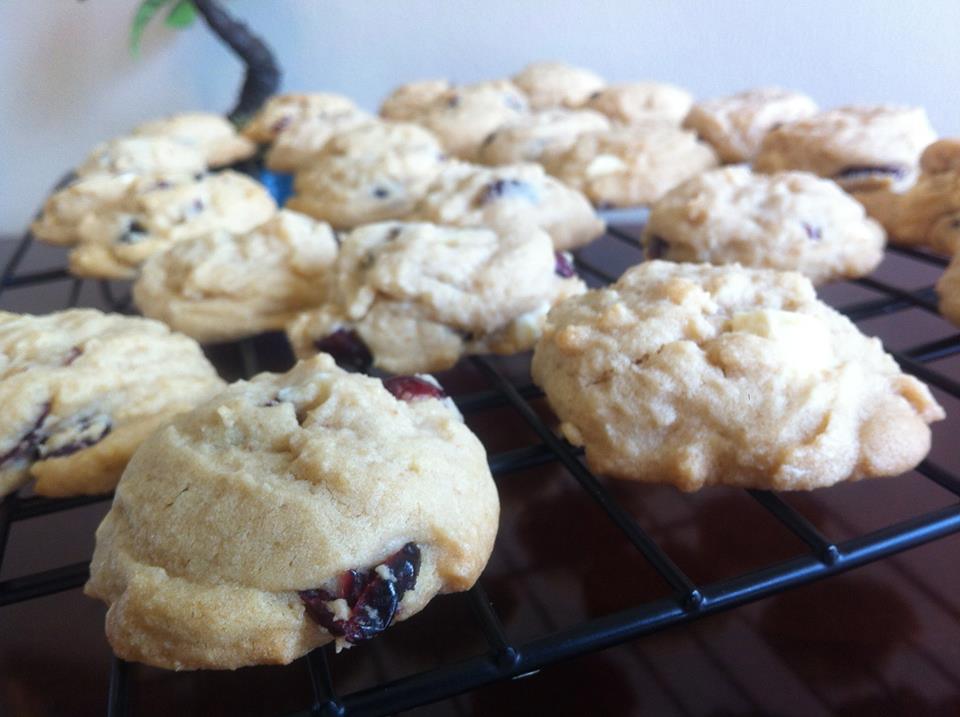
- 3/4 cup dried cranberries
- 1 bar of Lindt White Chocolate (or 3/4 cup white chocolate chips)
| Directions: - Preheat oven to 350 F
- Using a stand mixer, combine the butter and sugar. Mix until it is fully combined an creamy
- Add egg, and vanilla and mix on medium for 1 minute
- Add the flour, corn starch, baking soda and salt and mix until you get a nice dough.
- Break up the chocolate bar into bite size pieces using a knife or your hands.
- By hand, mix in the cranberries and white chocolate chunks
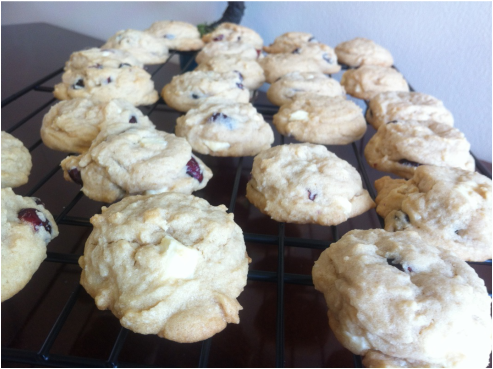
- Scoop out onto a lined cookie sheet and bake for 9-10 minutes, or until golden on the outside.
| These cookies don't need a long time to bake since they're suppose to be soft. As a rule of thumb, when you think they are done, touch the top of the cookie to see if it is really soft. If so then let them cook for a little while longer.
You're not the only one if you find that quiches with pastry bases are a daunting task. "SOGGY BOTTOMS"
The questions is always whether or not the bottom or middle will be cooked through. The worst thing is to sit down at a table, to tuck into a nice looking quiche packed with great ingredients, only to find that the pastry is completely raw on the bottom. It's not the nicest thing to have to reheat your oven and resume the cooking process- regarding both the patience of your consumers now left waiting, and the confused tart.
Don't get me wrong, pastry is something in itself and it truly makes a quiche, or pie, or tart, what it is. I nice short crust is great! But, sometimes you just want a solid bake with no worrying here or there, certain that it is perfect. I have a good alternative to pastry right here in this post.
A couscous base that only requires you to cover the base of the dish with uncooked couscous.
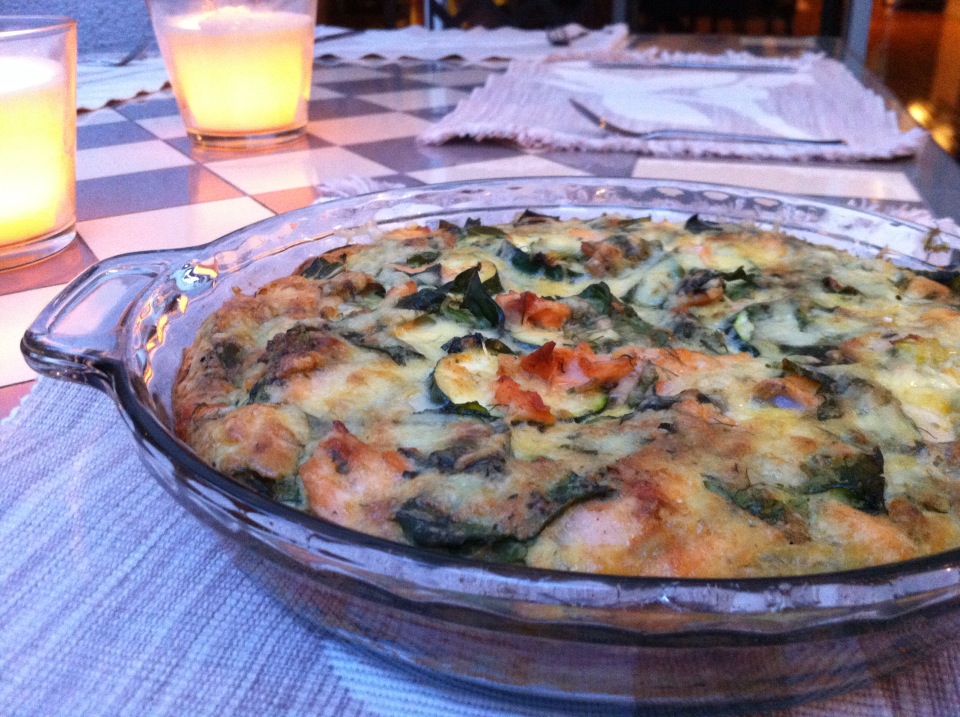
The couscous doesn't even need pre-cooking! You assemble the rest, cook it until the egg is set at the point it should be, and you can relax about the base, or even the sides because, well, there are no sides to this tart- the egg creates it's own sides. Convenient, eh?
So, give this a go with your quiches next time you can't be bothered pulling together some pastry. This quiche doesn't take the best photos, but it tasted great. Ingredients:
- about 1/2 cup couscous, uncooked
- 6 eggs, lightly beaten
- 2 tbsp pesto
- 100g sour cream
- 1/2 cup parmesan cheese, grated
- handful fresh dill
- 1 courgette, thinly sliced into rings
- 2 small fillets salmon (or smoked salmon)
- A bunch of spinach, roughly chopped
- 1/2 cup cheddar
- salt and pepper
Directions:
Preheat oven to 180ºC Fan-forced, 200ºC, 375 F.
In a pan, drizzle lightly with oil and cook the salmon fillets. Once cooked, pull the meat into chunks and set aside. If you're using smoked salmon, just roughly chop it into pieces.
Sprinkle the base of the dish with couscous about 1/4 inch deep, until covered. Over the couscous, layer the courgettes, salmon and spinach.
In a medium bowl, mix together beaten eggs, pesto, sour cream, parmesan, dill, and a sprinkle of salt and pepper. Then, pour the egg mixture over the other ingredients in the prepared dish.
Sprinkle with cheddar cheese and place in preheated oven for 25-30 minutes, until brown on top and egg set.
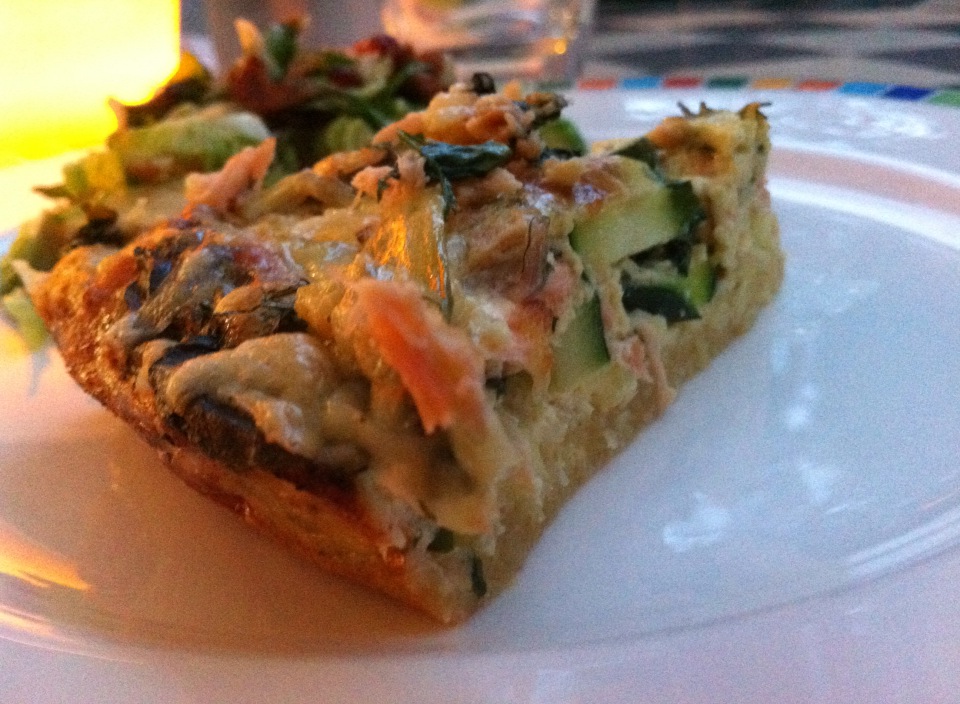
Once cooked, let rest for 5 mins before cutting and serving.
I love making bread- the proper stuff with yeast and a good deal of kneading. It smells great, looks great, and tastes great- when it works that is! Working with yeast can be difficult sometimes, and patience gets overlooked due to the rising/proving times.
But bread is so comforting.
Whether it be the simple or complex loaf, there are so many variations of bread that exist, and it's pretty much a staple food for probably the majority of people in this world. It can be a simple flour, water, salt mix, but it can be taken to completely new levels with the addition of fruit or vegetables, herbs, nuts/seeds, just sugar, an added egg or milk for richness, it goes on and on!
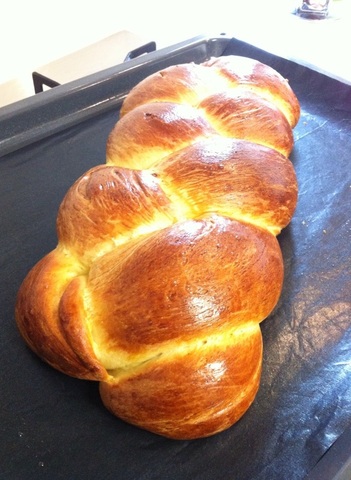
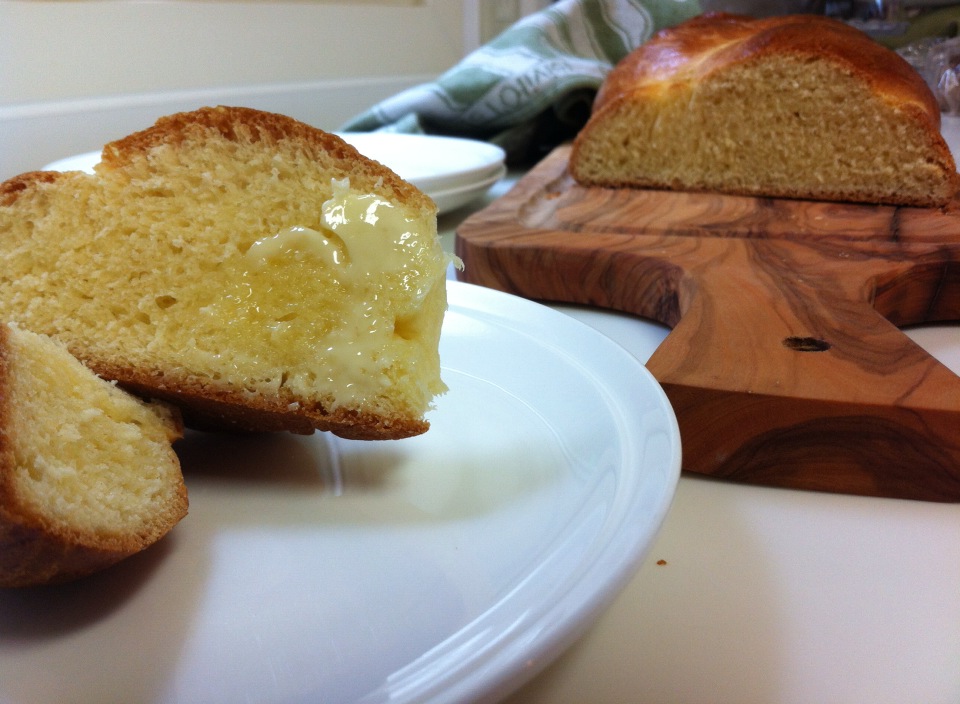
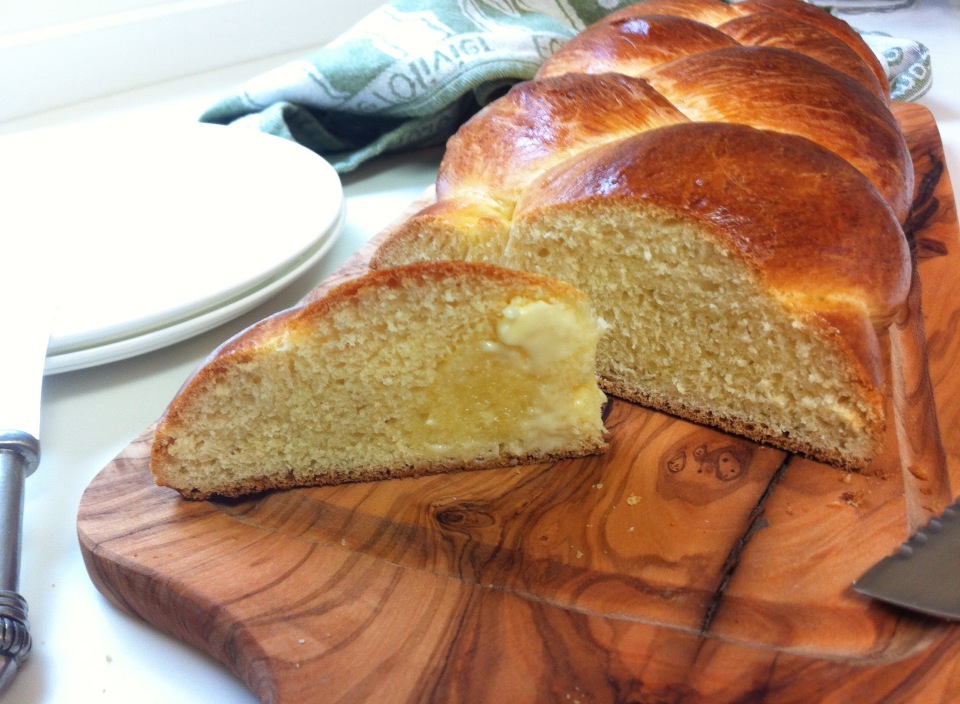
This bread is traditionally german, and is called a "Hefezopf". Most people have no idea what it is, but basically it's a sweet milk bread, like brioche, which is a name people tend to be more familiar with.
There's a joy in making bread, too, which is an added bonus. Some might find that it becomes a hassle when so much kneading and waiting is required, but to me, that's the good part- putting in some work for the better result, and generally, the more patience and effort that's put into bread making, the better the turn out tends to be!
Ingredients:
2 tsp dried yeast
125ml warm milk
1 large egg
450g plain flour, plus extra
75g caster sugar
1/4 tsp fine salt
75g unsalted butter, melted
vegetable oil, for greasing
1 egg beaten, for glaze
Directions:
Warm the milk in the microwave, checking it regularly for warmth. It should be at a temperature where when a finger is dipped into it, there is no sting of heat, but enough to feel a good increase in temperature. If you overheat it, you can wait for it to cool, or you can take out some and readjust using cold milk. This is important for the yeast- too hot and the yeast will be killed, to cold and the yeast won't activate.
Once at the right temperature, dissolve in the yeast. Then, let cool and whisk in the egg.
In a medium bowl, mix together the flour, sugar and salt. Then, form a well in the middle and pour in the egg/milk/yeast mixture. Melt the butter partially, and then stir to melt the leftover solids, so that it doesn't cook the egg. Then, add the butter to the bowl. Gradually draw in the flour with a wooden spoon, mixing until a soft dough forms.
On a flat, clean and lightly floured surface, knead the dough for 10 minutes until smooth and soft, and pliable. Then, place in a lightly oiled bowl and cover in cling film. Leave in a warm place for 2- 2 1/2 hours until doubled in size.
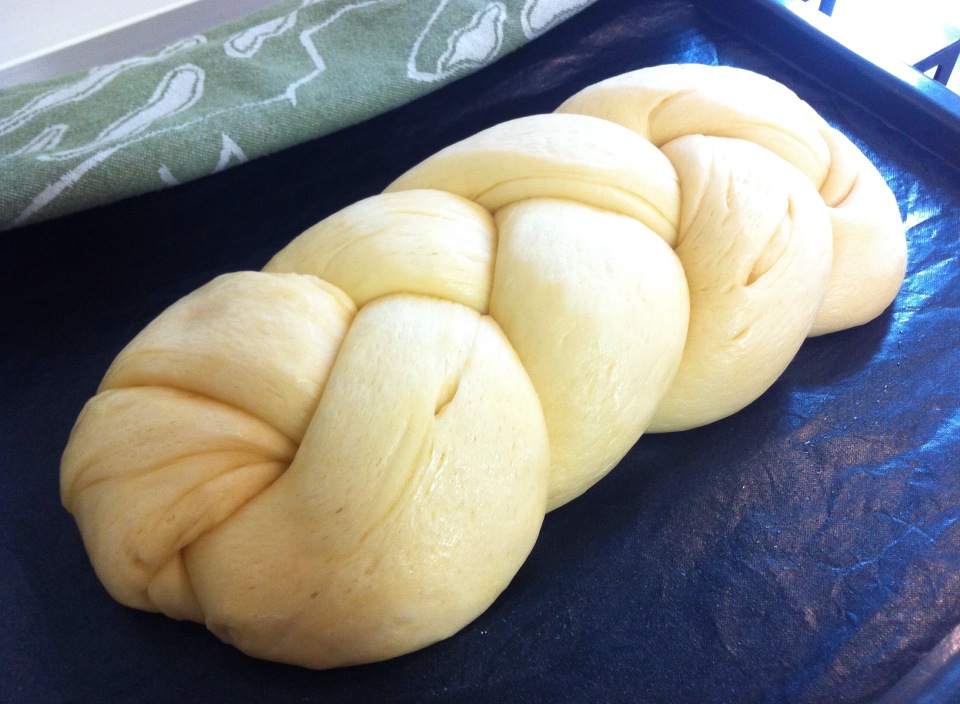
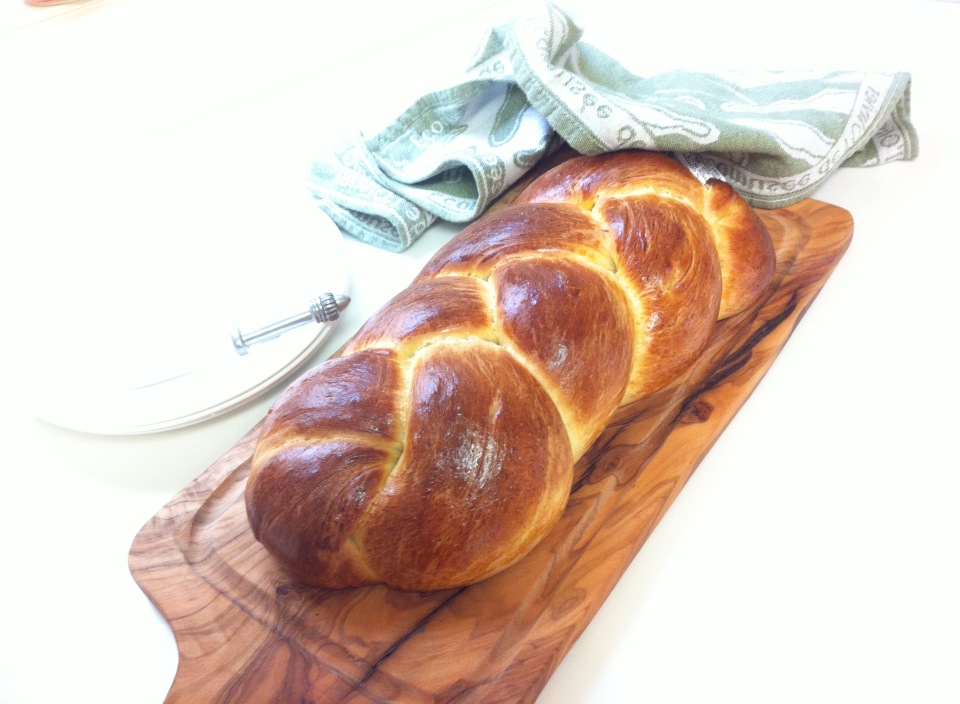
Put the dough onto a floured surface and knead it gently to knock out the air bubbles. Then, divide into 3 equal pieces. Take each piece and roll it into a log, then continue to roll it out until they are around 30cm in length. Pinch together the tops of the 3 pieces, and tuck the join underneath.
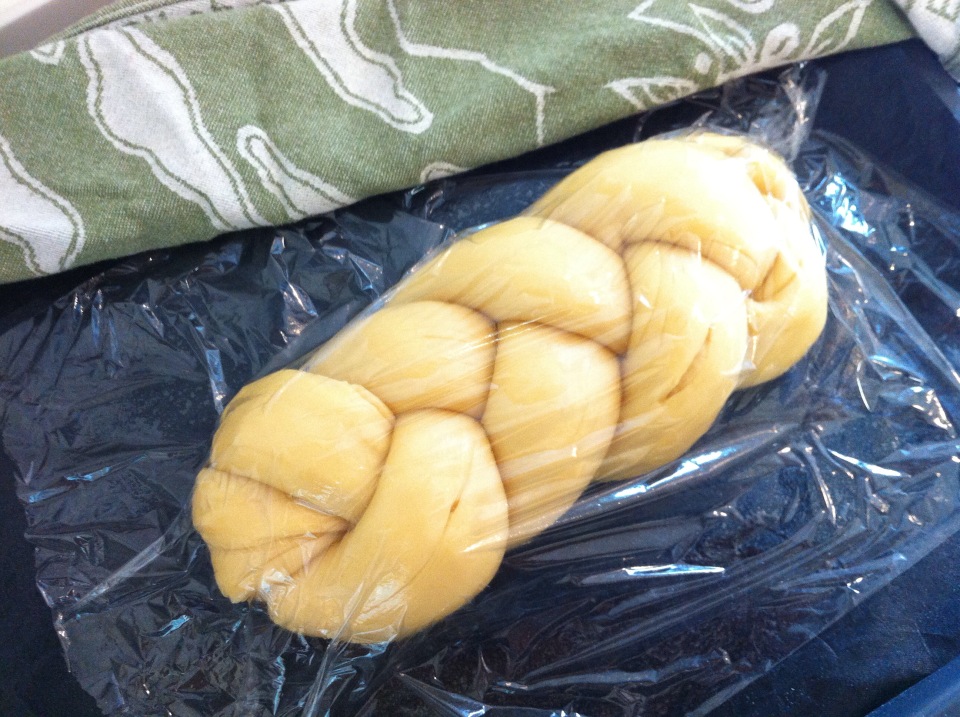
Loosely plait the dough, leaving enough space for it to rise. Once at the end, pinch together and tuck under. Lay this on a tray lined with baking paper, and wrap the braid in cling film. Cover in a tea towel and leave in a warm place for a further 2 hours.
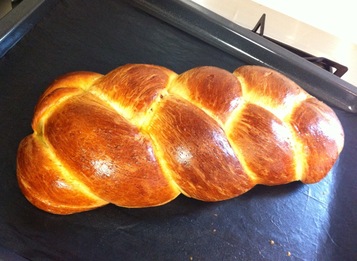
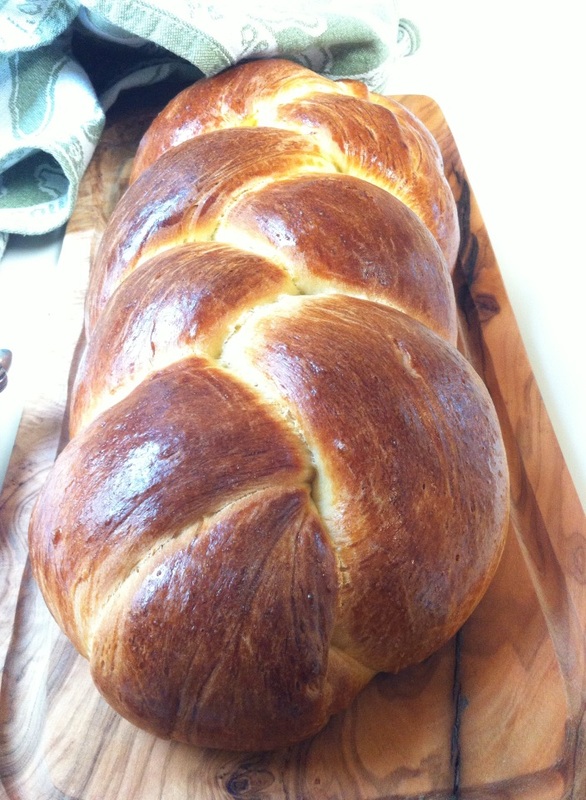
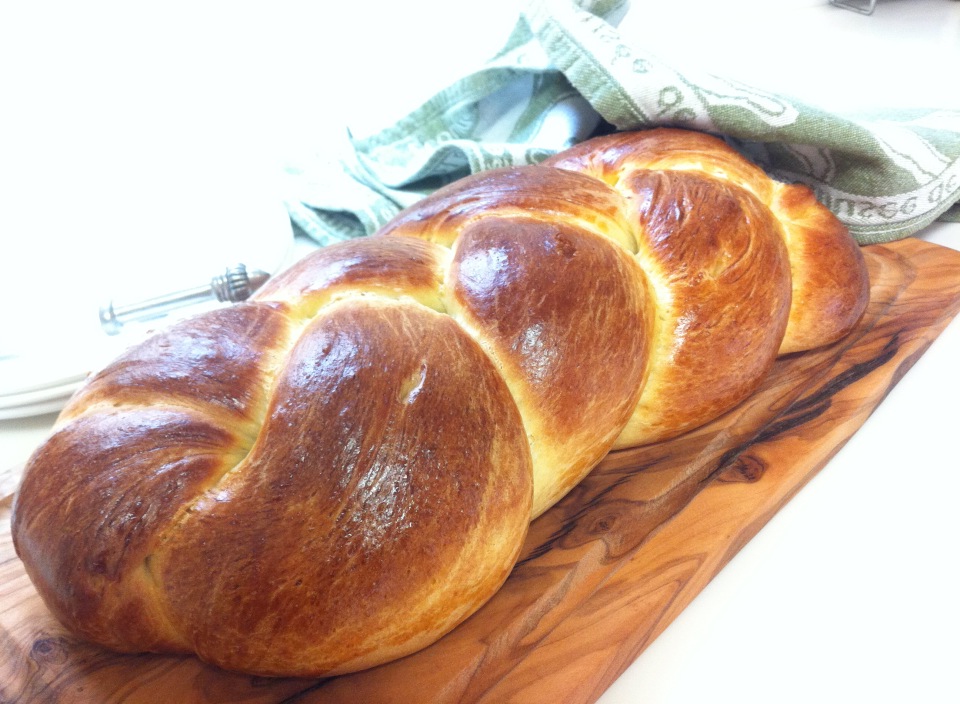
Preheat your oven to 190ºC (170 fan forced). Brush the braid with the beaten egg. Place in oven and bake for 25-30 minutes until golden. Check if it is cooked where the braid meets. If undercooked- cover in foil and cook for a further 5 minutes.
Cool for 15 mins before serving.
Hello Again (: Is it too soon to post another recipe?
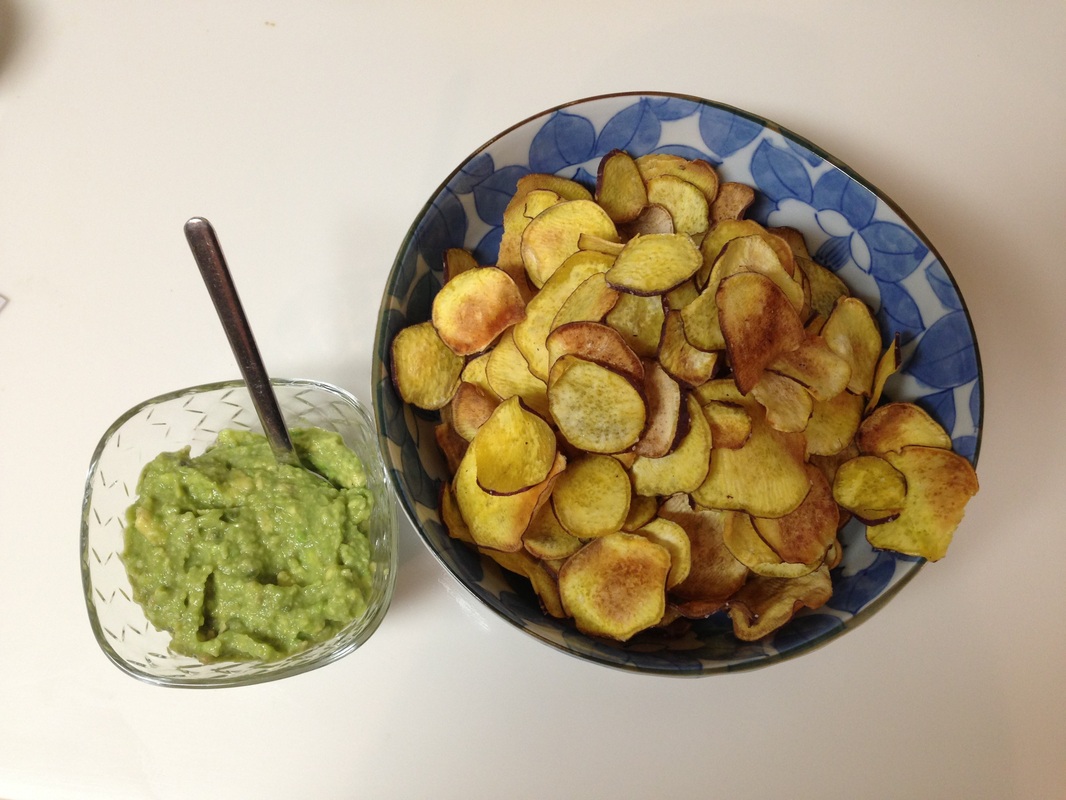
As Caera mentioned earlier, we had a group of our friends over for dinner last night and made an assortment of tapas and desserts for everyone to try. We catered to everyones food likes, dislikes and allergies and it turned out very well! One of my favorite dishes we made last night were sweet potato chips.
Currently--I think I can speak for both Caera and I--we have a sweet potato addiction. Let me explain, the Japanese sweet potatoes are much different than the ones you can find in America. The color is a pale yellow whereas the US ones are bright like yams. Their name doesn't do the potato justice because it isn't sweet at all. In fact, it has a much milder taste that is more similar to a normal potato rather than a yam. I have cooked sweet potatoes in a numerous amount of ways like chips, wedge-fries, and just plain baked like a baked potato.
I was amazed that these chips turned out so well. When I tried to make them earlier they weren't crispy and the bottom was burned. I guess you really have to get the temperature right in order for them to be cooked to perfection. Anyways, if you have a break--20 minutes is all you need--then you can make a healthy and delicious snack!
As for the dip, it is basically guacamole without the onions, or whatever goes into guacamole. I personally am not a huge fan of avocados so I ate my chips plain, but according to the crowd they loved it! Chips:
2 medium size sweet potatoes
Salt
Olive Oil
1. Preheat the oven to 200C (~390F)
2. Using a mandolin, thinly slice the sweet potatoes so they look like chips
3. Line a baking tray with baking paper and drizzle olive oil on top
4. Place the sweet potatoes on the tray--do not overlap them--and sprinkle with salt
5. Bake for 15 minutes. Leave them on the tray for a while after they come out then transfer to plate or bowl when they are cool.
Dip:
1. Avocado
2. Juice from 1/2 lime
3. Salt and pepper to taste
1. In a bowl, mash the avocado and add the lime juice
2. Add salt and pepper if needed
3. Dish up and dig in!
Finally, Hannah and I completed a dual cookout!
Friday night; we're all happy that it's the weekend and we're all tired and in need of sleep. SO, Hannah and I decided to drag a group of friends out, at night, to an area pretty much out of the way of them all, to sit and eat our food, and then find their way home again....
Well, I don't think they minded in the end, the food turned out well and we had a good night. Of all the things we made though, we only managed to get a few good pictures of this recipe. (We gave ourselves too much to do!)
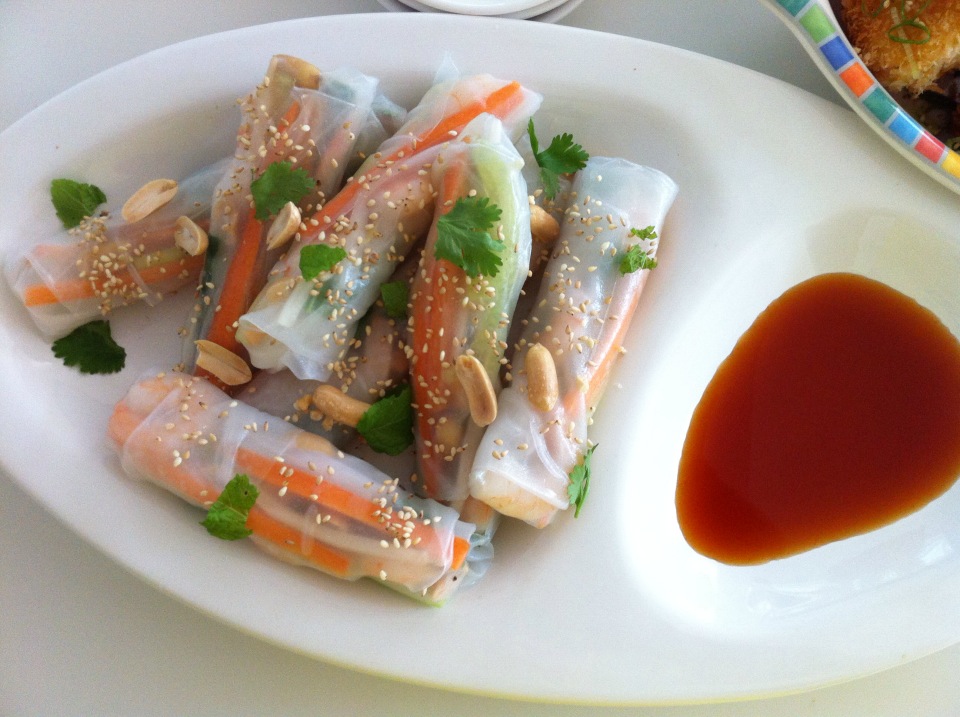
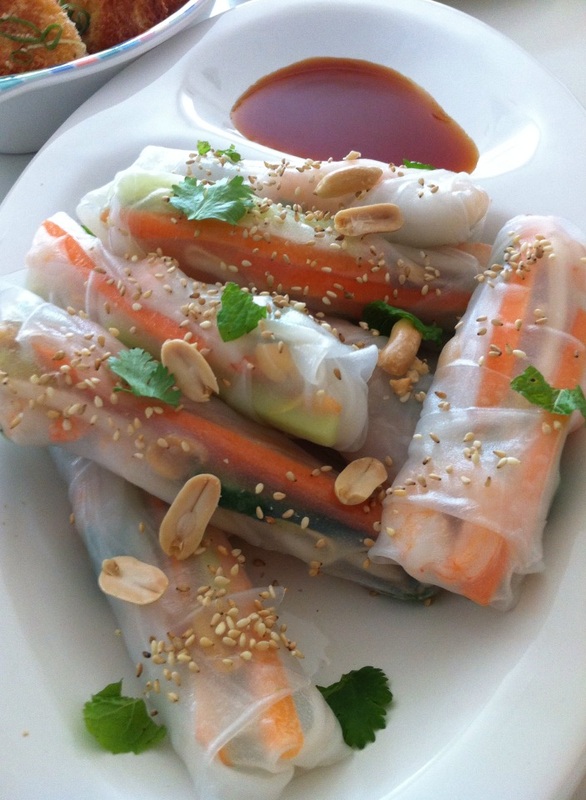
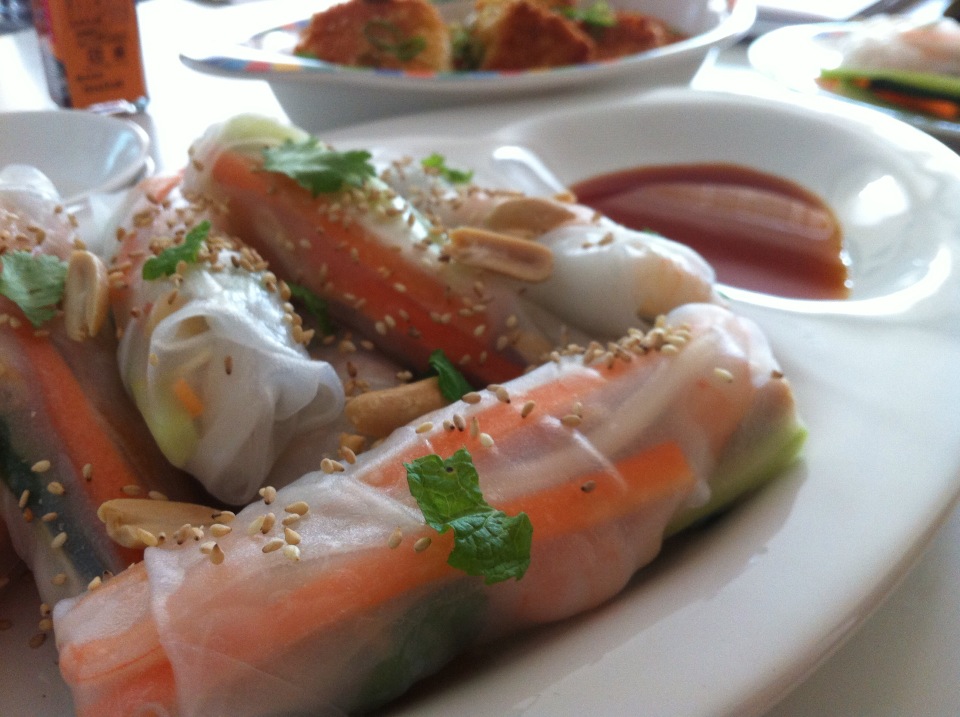
These spring rolls are pretty healthy. Nothing is cooked, and it's packed with vegetables and seafood. I know some people find that mint and coriander are too strong to eat fresh, but I really enjoy the freshness that the herbs give. They're easily omitted if that's preferred. PEANUTS- they've got to come in somewhere. Whether it be added to the rolls or in the dipping sauce, they're a must! Unless, of course, you're allergic, or for some odd reason, hate peanuts.
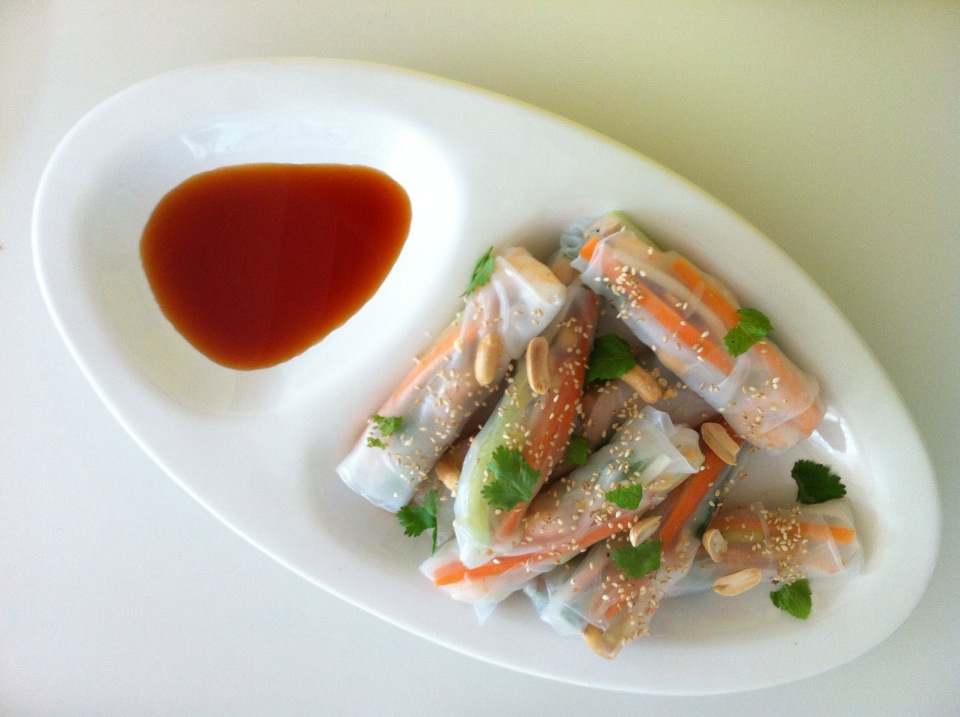
Anyway, these are super fresh and tasty, and great for a cold, healthy meal.
Ingredients:
- handful of cooked shrimp
- rice paper
- 1/2 pack thin rice noodles
- 1 cucumber
- 1 carrot
- small pack bean sprouts
- roasted peanuts
- handful of fresh mint
- handful of fresh coriander
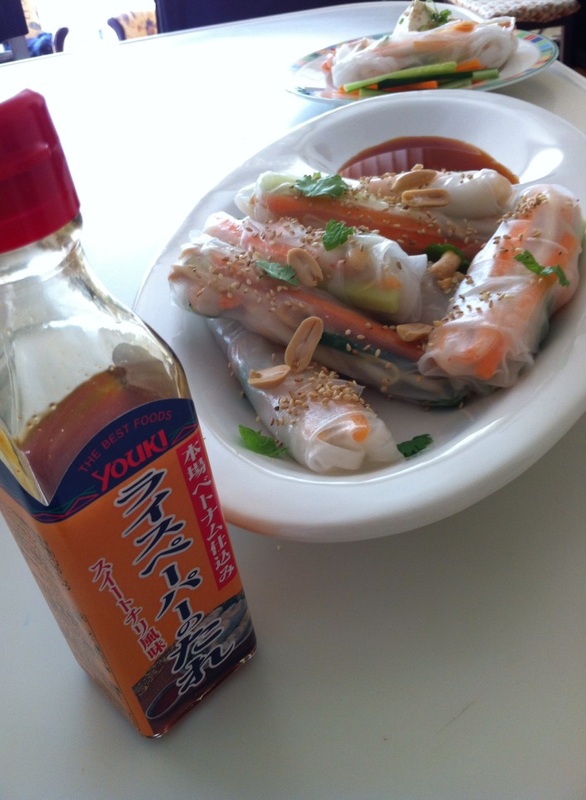
- Spring roll dipping sauce (peanut, sweet cherry, etc)
To serve:
- Sesame seeds
Directions:
Follow the pack instruction for softening the rice paper rolls- on a plate or flat surface, pour on some water, enough to cover the rice paper sheets, and let soak for a few seconds until just softened. Then, lay out on a dry plate or flat surface.
Assemble the ingredients closer to the bottom edge of the rice paper and in a horizontal line, but not right at the edge. Place some noodles, cucumber, carrot, bean sprouts, peanuts, and herbs, trying not to overfill. It tends to need less than you think.
Lift the bottom edge until just over the ingredients, then pull in the left and right edges likewise and place shrimp in a row on the unfolded edge. Then, complete the roll, rolling from the bottom-up. Adding the shrimp a step after allows you to see the shrimp on the top of the roll when it's formed, but if you find it easier, add them in with all the other ingredients.
Sprinkle with any leftover herbs and peanuts, and finally sesame seeds.
Dip and enjoy.
"EASY PEASY THAI-NEASY"
It's been too long since my last post thanks to the summer holidays. I was planning on posting quite a lot, but unfortunately, I was in all the wrong places for baking. Now, we're getting the ball rolling again!
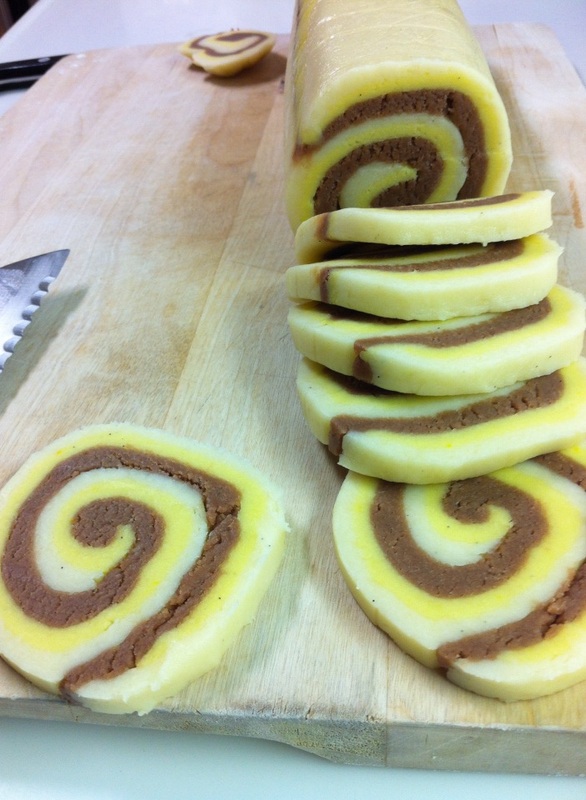
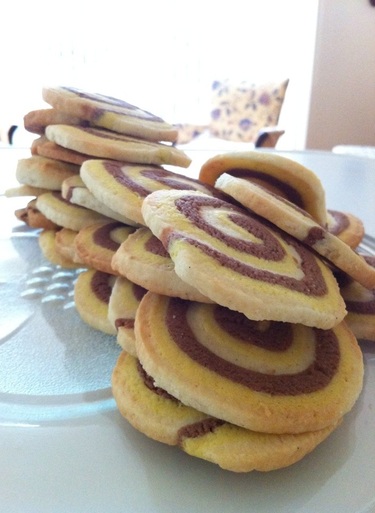
I wanted to do do something a little fun, so I played with some colour variations and patterns and decided to do these hypnotic wheels. The original recipe is just chocolate and vanilla, as are these, but it would be cool to play with the flavours too. I would try choc-mint by substituting the vanilla for peppermint oil; choc-orange by substituting with orange oil; you could also try different chocolates. You could even just scratch the chocolate altogether and use caramel, coffee or if you're extremely adventurous- lavender. Adding dye is yet another way to jazz up your cookies. The basic recipe allows for any kind of flavouring that you desire- it's pretty versatile.
I found that I had to add more flour to my dough to get the right consistency, which should be at a point where it holds its shape when formed into a ball and doesn't flatten under it's own weight. It should be workable, so not too wet. My chocolate dough needed the most.
As you'll notice, there is no cocoa powder in the recipe for the chocolate dough. I actually found it to be so much nicer without cocoa powder, and rather the addition of melted chocolate. The richness of the dough was so yum.
All in all, if you get the dough to a nice workable consistency, the rest is easy and the outcome of the cookies is spot on. They're crunchy and rich in flavour! Really good with a cup of milk. :)
Recipe from This WebsiteYields around 30
- 1 pack (8 oz) Philadelphia cream cheese - 3/4 cup (6oz) butter, room temperature (don't melt) - 1 cup sugar - 2 tsp vanilla essence - 2 1/4 cups flour - 1/2 tsp baking soda - 2 oz semi-sweet chocolate chips, melted - yellow food dye, or any others is preferred Directions:
Beat together the cream cheese, butter, sugar and vanilla essence until well combined.
Sift in the flour and baking soda and mix with a spoon until thoroughly combined. Cover with cling film and refrigerate for 30 mins.
Weigh your dough and divide into 3 equal weighing amounts. Rewrap two of them and place back in the fridge. In a bowl, place the melted chocolate and 1 amount of dough. Using your hands, mix thoroughly until colour is consistent. Then wrap, and refrigerate. Repeat with a second amount of dough adding the yellow food dye until desired colour is reached. Refrigerate that, too.
Take one of the amounts of dough out of the fridge and roll out on a floured surface into a rectangle about 1/4 inch thick. Repeat with the other two amounts and then layer them on top of each other. Trim the edges to make it neat and then, using a rolling pin, lightly flatten the dough out a little more.
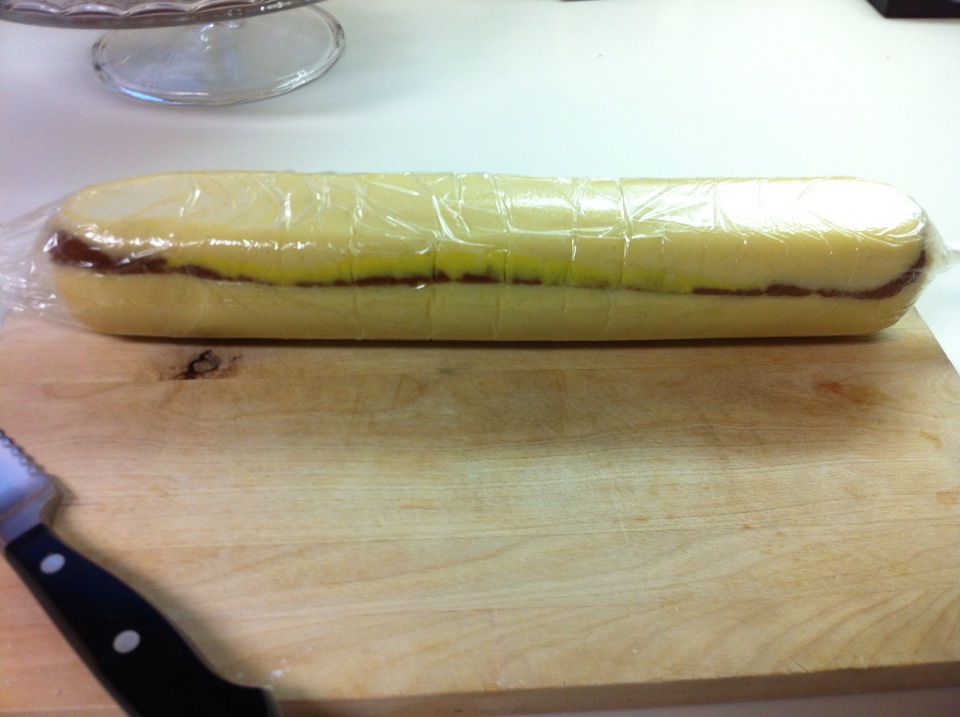
Transfer the dough to a large piece of cling film and roll tightly into a log, twisting the ends. With the trimmings, form them together and do the same, forming into a log. They'll be marbled cookie instead!
Place back in the fridge for 1 hour.
Preheat your oven to 350º F | 180º C | 160º C fan-forced.
Unwrap the log of dough and slice into 1/4 inch thick wheels. Place on a lined baking tray about a cm apart and place in the oven for 15-20 mins, turning the trays around halfway through, or until lightly browned. Let them rest before transferring them to wire racks for a further couple of minutes to cool.
|


 RSS Feed